Showing posts with label Design Jobs. Show all posts

Tuesday, April 26, 2011

Froggys for BOYS & GIRLS!

Time for the little guy to graduate from mom and dad's room, to his own...except, he has to share this room with his older sister. How can we combine this little guys new pad with sis?

I started by finding a theme that was not gender specific. FROGS! So, for color, we needed something with some green in it. I found a bedding set at target for sister, that had green, brown, and blue polka dots. Pretty easy to find a neutral brown crib set to match.


For an easy way to use 2 colors in a room, without a chair rail or accent wall, use ribbon to divide the color as done here...I use thumb tacks to hold the ribbon up. If you look, there are actually thumbtacks with some style at the stores! You can go all kinds of crazy!


Bachelor Bedroom

Well, not too often do I get male clients that want to fix up their pads! This guy isn't going to stay single too long after his bedroom transformation! I found this bedding at Macy's and the lamps are from JCPenney. We also order the nightstands from Overstock.com.


The stripe job ended up being a bit grueling! But, no pain, no gain, right? I think it makes the whole room.


BEFORE:


AFTER:

Wednesday, September 29, 2010

Greystar Model - 1 Bedroom

Living Room


BEFORE:


AFTER:


Dining Room


BEFORE:


AFTER:


Office Area


BEFORE:


AFTER:
Kitchen
BEFORE:

AFTER:


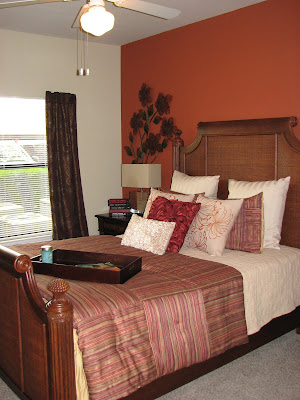
Bedroom


BEFORE:


AFTER:


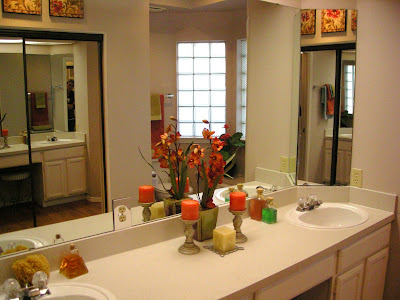
Bathroom


BEFORE:


AFTER:


Greystar Models - 2 Bedroom

Living Room

BEFORE:


AFTER:


Dining Room

BEFORE:


AFTER:


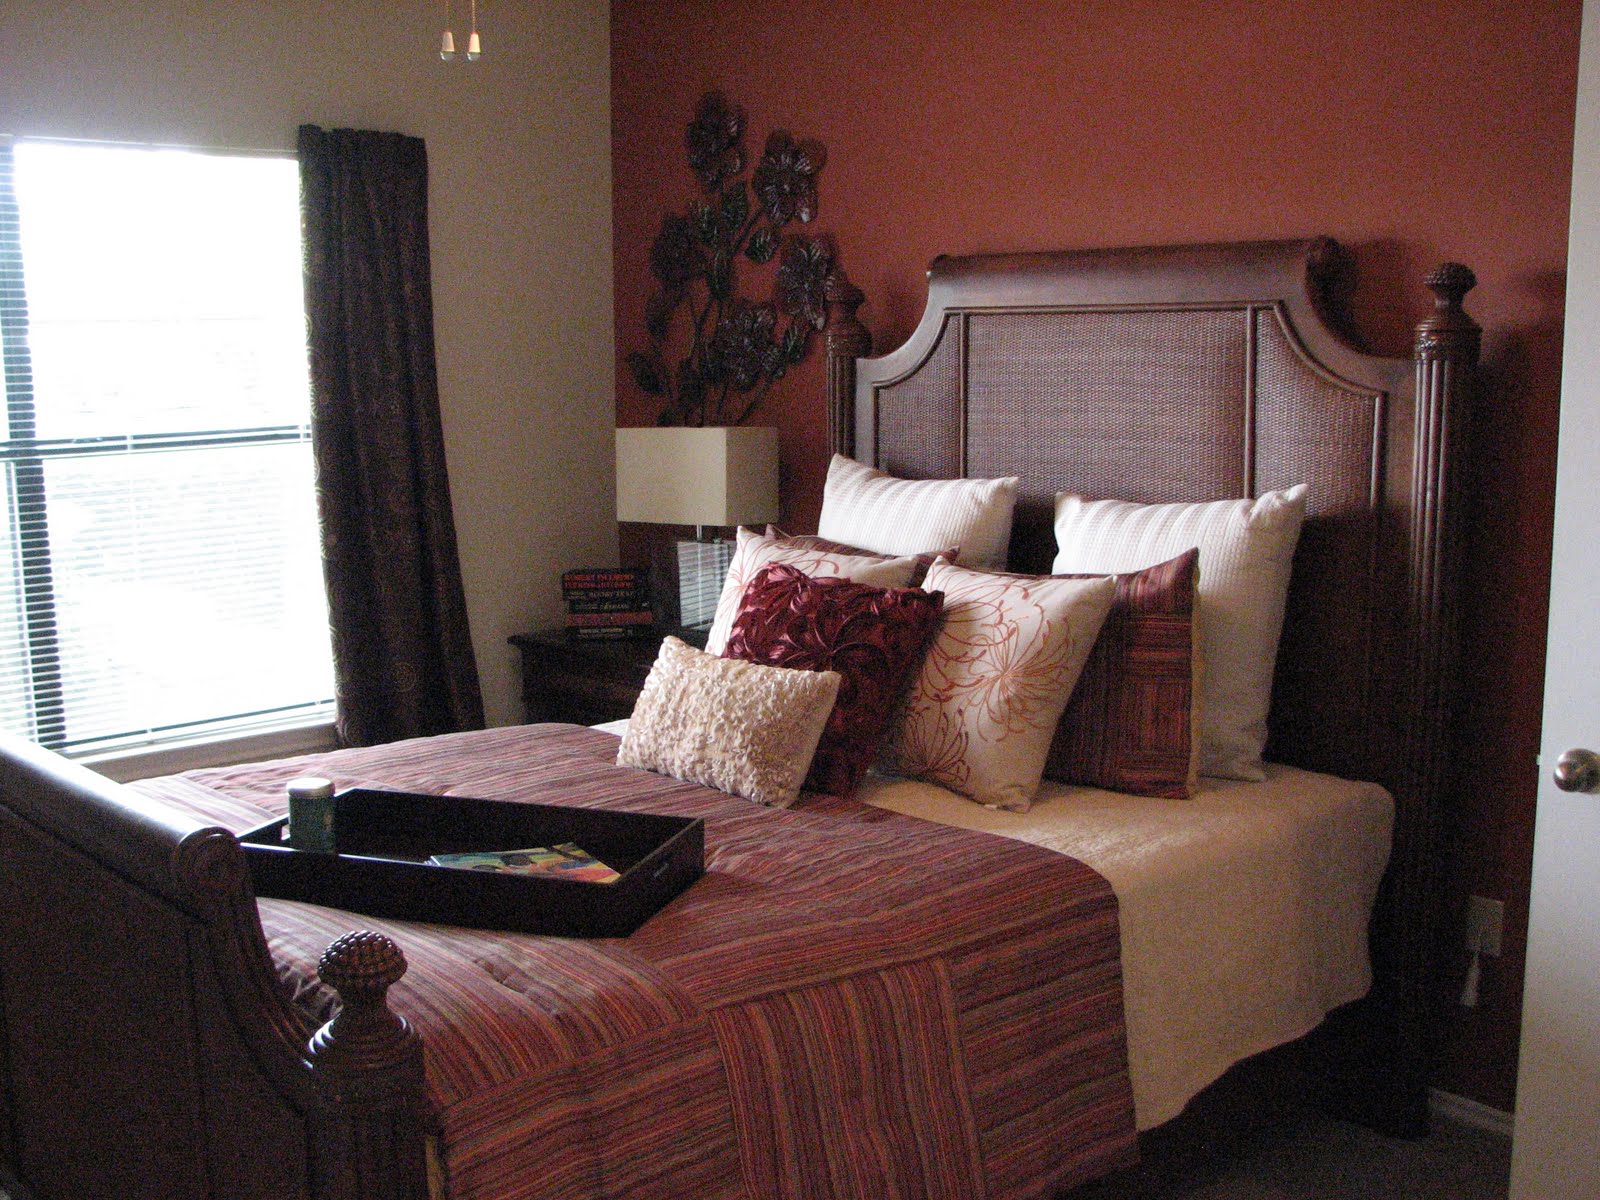
Master Bedroom

BEFORE:


AFTER:

Master Bath

BEFORE:


AFTER:


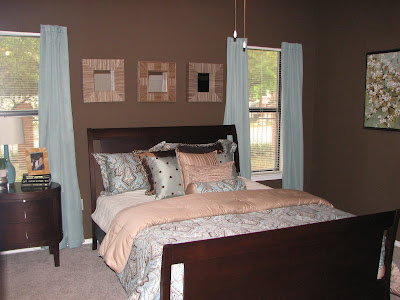
2nd Bedroom

BEFORE:


AFTER:


BEFORE:


AFTER:


2nd Bathroom

BEFORE:

AFTER:

Sunday, August 15, 2010

My First Seattle Redesign!

Well, it was time to pay my dues here in Seattle. What better place to start with than Steve's work? I have to do some pro bono stuff to get my name out there, plus this may be just a little self serving, since its Steves property...

So, I did a little shopping last week, and yesterday started at 9 am and wasn't done until around 10 at night, thats why its dark outside when the "after" pics were taken. I used the furniture from another model that wasn't being used, but I purchased all the accessories. We started out with the bare bones. Here's what we got...Budget $1600! How on earth do you buy all new lamps/bedding/artwork/paint for $1600? This is how...It can be done people! Painting is key, these rooms really came together when I added paint to the walls.

BEFORE:

AFTER:

...notice the missing candle? these are things we have to do on a budget. actually i wasn't planning on using those candlesticks until the last moment when i realized i had a spot that needed immediate filling. i will have to pick up another red candle this week.
BEFORE:

AFTER:
still a lot of "holes" in the kitchen...will have to wait til next quarter when there is more money...

BEFORE:


AFTER:


BEFORE:

AFTER:
this is my favorite transformation. the wood on these dressers was so outdated, kind of a 2-toned oak. i used silver paint and fixed them right up!


BEFORE:
AFTER:
not a lot you can do with an apartment bathroom, but a new color scheme helps...
All in all, I thought the project was a success. Steve got to take the kids to their eye exams (which is an all day event) and really came back appreciating me in more than one way (I think)...It was a lot to accomplish in 1 day, but just shows what can be done. Plus these apartments (like many here in seattle) had NO a/c. It was 95 outside. I was dying!